
Why I Recommend Pre-Pasted Wallpaper Over Peel-and-Stick for DIY
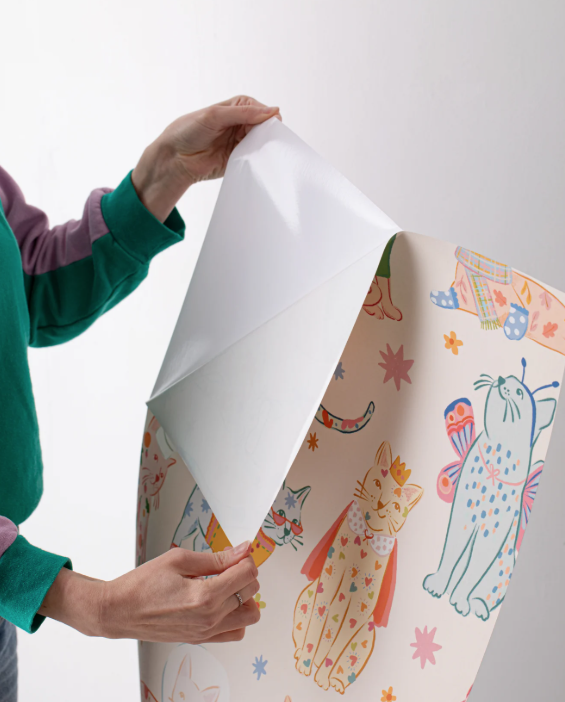
Peel and Stick | Photo Credit: Hovia.com
When someone tells me they want to DIY their wallpaper, they often assume that means peel-and-stick. It makes sense. Peel-and-stick is marketed as the easy option. No paste, no water, no professional installer. Just peel off the backing and stick it to the wall. But after working with many different types of wallpaper, pre-pasted wallpaper is usually what I recommend for DIY projects.
The Problem With Peel-and-Stick
Peel-and-stick can be great in the right space. But it works best when conditions are close to perfect. You want smooth, properly prepped walls, relatively straight corners, and a simple space without a ton of obstacles to work around. The biggest challenge is that once peel-and-stick makes contact with the wall, it wants to stick. If your first drop isn't perfectly straight or your pattern is slightly off, repositioning a large piece can get frustrating quickly.
Why Pre-Pasted Is Different
Pre-pasted wallpaper already has wallpaper adhesive applied to the back. You activate that adhesive with water before hanging it. Depending on the manufacturer, you'll typically wet the paper, gently fold the pasted sides together in a process called booking, let it rest for the recommended amount of time, and then hang it. But here's the part I love for DIY:
You can move it.
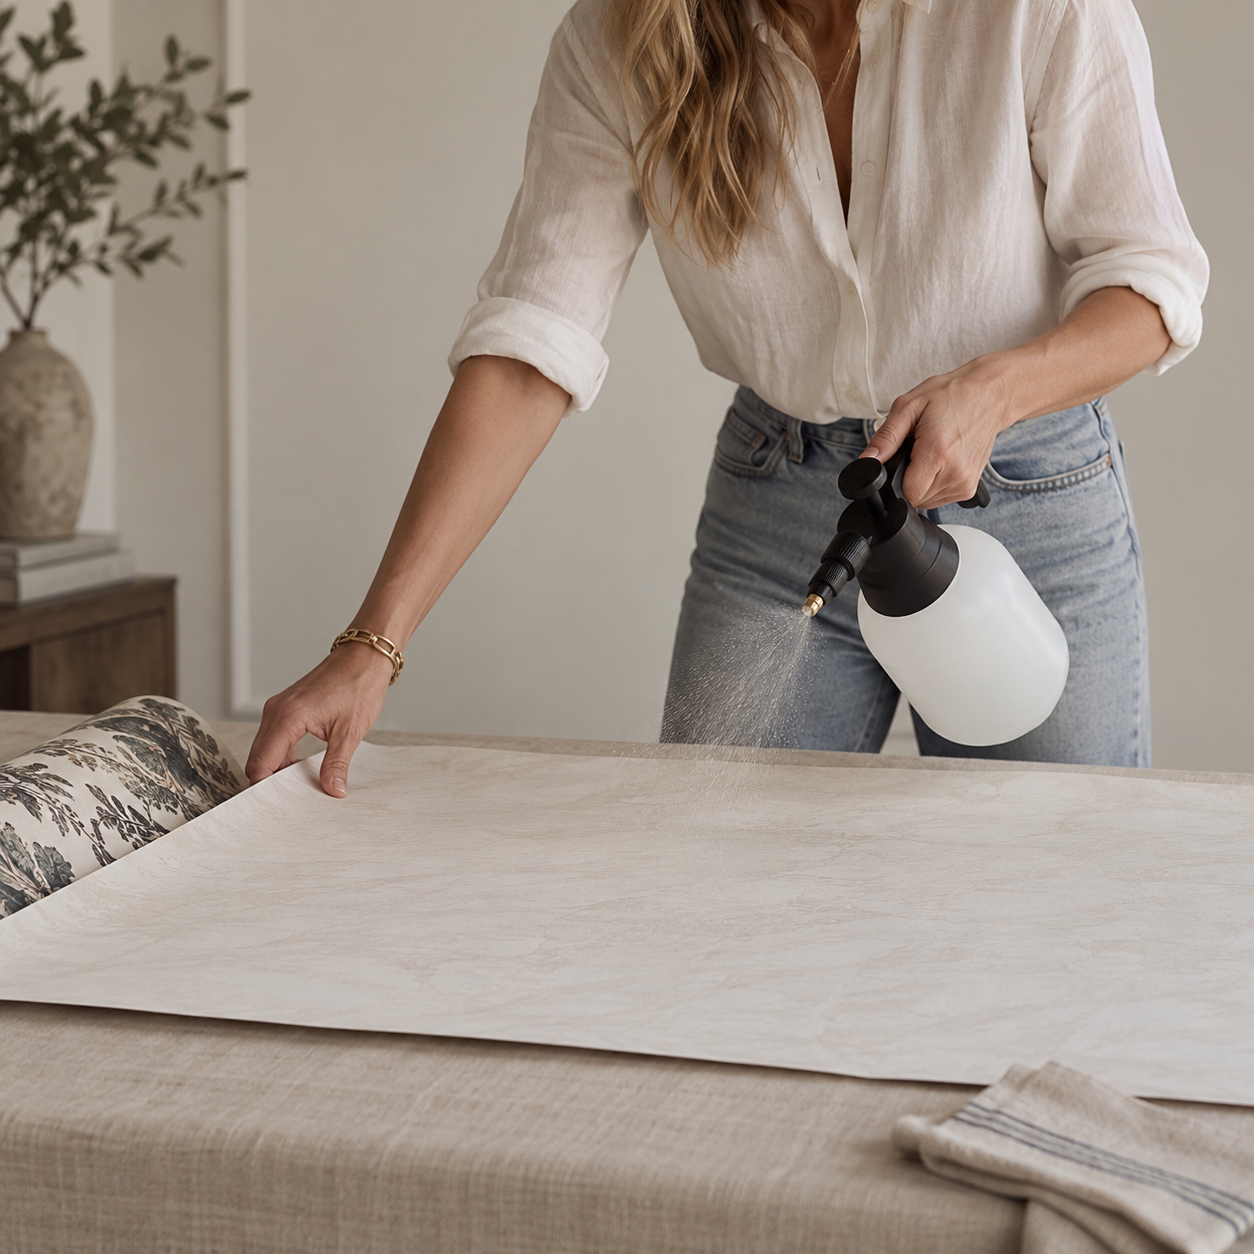
Pre-pasted Wallpaper being sprayed with water
While the adhesive is wet, the wallpaper has some flexibility on the wall. You can slide it slightly to straighten your drop, line up your seams, match the pattern, or adjust around an outlet or piece of trim. That extra working time is incredibly helpful when you're learning.
So, Is Pre-Pasted Easier Than Peel-and-Stick?
In many cases, I think it is. Peel-and-stick absolutely has its place. But peel-and-stick and DIY-friendly aren't necessarily the same thing. For a straightforward DIY project, I would rather have wallpaper that gives me a little time and forgiveness to get things right. And if you're ready to try it yourself, next I'll walk you through how to install pre-pasted wallpaper, including wall prep, your first drop, pattern matching, trimming, and the tools you'll need.Your walls need to be smooth, properly prepped, and relatively even. Your first strip needs to be straight. Your corners need to cooperate. And if you have outlets, windows, doors, trim, or other obstacles to work around, things can get complicated quickly. The biggest challenge is right there in the name: it sticks. Once peel-and-stick wallpaper makes contact with the wall, repositioning it can be difficult. You may be able to pull it back and try again, but that gets frustrating when you're also trying to keep a pattern perfectly aligned with the strip next to it.
This is why I often point DIY clients toward something else.
